Getting Started
The quickest way to get started is with the Examples (opens in a new tab) repo. This guide will walk you through deploying your first project with Mantle using the Getting Started (opens in a new tab) example.
This guide will require you to run commands from a terminal. If you're new to terminals, we recommend you use PowerShell on Windows and Terminal on MacOS. Some commands we use in this guide will not work in Window's CMD terminal.
Get the tools
Before we get started, you'll need to have a couple of tools installed.
Git
First of all, make sure you have Git installed. If not, you can install it from its official downloads (opens in a new tab) page.
Foreman
Next, you'll need to install Foreman which is a Roblox toolchain manager (in other words, it's what you will use to install Mantle). You can find more information on this in the Installation guide, but we'll go through it step-by-step here.
- Head over to the Foreman Releases (opens in a new tab) page, and download
the latest Windows version (look for the
foreman-x.x.x-win64.ziplink). - Once downloaded, unzip the folder
- Copy the
foreman.exefile to a reusable location. I like to put mine inC:\Programs(you'll have to create this folder as it's not a default one) - Now we will need to configure your path variable to include both the
foreman.exeand the tools that Foreman will install later. - To configure your path variable, open the start menu and search "Edit the system environment variables." In the dialog that opens, click "Environment Variables..." Select the "Path" variable under "User variables for {username}" and click "Edit..."
- Add
foreman.exeto your path by clicking "New" to add an entry and enter the path of the folder you putforeman.exeinto (for me it wasC:\Programs). - Add the Foreman
bindirectory to your path by clicking "New" to add an entry and enterC:\Users\{username}\.foreman\binwhere{username}is your Windows username. - Click "Ok" to save your changes.
- Open a terminal and run
foreman --versionto verify it's working
Clone the examples repo
Now it's time to clone the Examples (opens in a new tab) repo. In a
terminal, run git clone https://github.com/blake-mealey/mantle to clone the repo to your computer. Now run
cd mantle/examples to enter the project.
Install Mantle
Now you can install Mantle using Foreman for the Examples project! Run foreman install to install Mantle.
Foreman will download the version of Mantle which the Examples project is configured to use in its
foreman.toml (opens in a new tab) file and make it
available to your terminal as mantle within the Examples project directory.
To verify that it was installed correctly, run mantle --version. If you are having trouble, you
can ask for help in the "tooling" channel of the Roblox OSS Discord (opens in a new tab).
Deploy your first project
Now it's time to deploy your first project! Run mantle deploy projects/getting-started --environment dev
to deploy the getting started project.
You will need to provide a MANTLE_OPEN_CLOUD_API_KEY environment variable.
If you are not currently logged in to Roblox Studio, you will also need to provide
a ROBLOSECURITY environment variable. You can read more about this in the
Authentication guide.
If everything goes well, you should see that the deployment completed successfully. Let's break down the output.
First, Mantle tells us about the project we are trying to deploy:
Loading project:
  ╷
  │  Loaded config file projects/getting-started/mantle.yml
  │  Selected provided environment configuration dev
  │  Loading previous state from local file projects/getting-started/.mantle-state.yml
  │  No previous state for environment dev
  │
  ╰─ Succeeded
Here we can see the configuration file that Mantle used was projects/getting-started/mantle.yml
because by default Mantle will look for a file called mantle.yml in the provided folder. It also
tells us that it is targeting the dev environment configuration because we passed --environment dev
to the deployment command. Finally, it tells us that it is looking for previous state from the
local file projects/getting-started/.mantle-state.yml and that no previous state was found. We'll
come back to this state file in more detail later, but for now you can just know that Mantle
realized we didn't have a state file yet so it created a new one.
Next, Mantle tells us about the resources it is deploying:
Deploying resources:
  ╷
  │  + Creating: experience_singleton
  │    ╷
  │    │  Dependencies:
  │    │      []
  │    │  Inputs:
  │    │    + experience:
  │    │    +   groupId: ~
  │    │
  │    ╰─ Succeeded with outputs:
  │         + experience:
  │         +   assetId: 3296599132
  │         +   startPlaceId: 8667346609

... cut for brevity ...

  │
  ╰─ Succeeded with 6 create(s), 0 update(s), 0 delete(s), 0 noop(s), 0 skip(s)
Here we can see all of the Roblox resources which Mantle has decided it needs to create for us to match the configuration file. In the snippet above, Mantle is creating a new Roblox experience, and we can see its asset ID and its start place's asset ID in its outputs section. At the end of this section, Mantle provides a summary of the operations it performed. In this case, all it did was create 6 resources.
Next, Mantle tells us where it is saving the state of the current deployment:
Saving state:
  ╷
  │  Saving to local file projects/getting-started/.mantle-state.yml. It is recommended you commit this file to your source control
  │
  ╰─ Succeeded
Here's the mysterious state file again! Let's crack it open and take a look. Run
cat projects/getting-started/.mantle-state.yml to print the file's contents into your terminal. As
you can see, it's a YAML file containing a list of all of the resources in each environment. If you
look closely, you'll see that its contents actually look very similar to the output which Mantle
already printed out for us. Mantle uses this file to know which resources need to be changed between
deployments, but more on that later. Mantle also told us that "It is recommended you commit this
file to your source control" which is true! You might notice that the examples project doesn't do
this, but this is just so that everyone can try their own deployments.
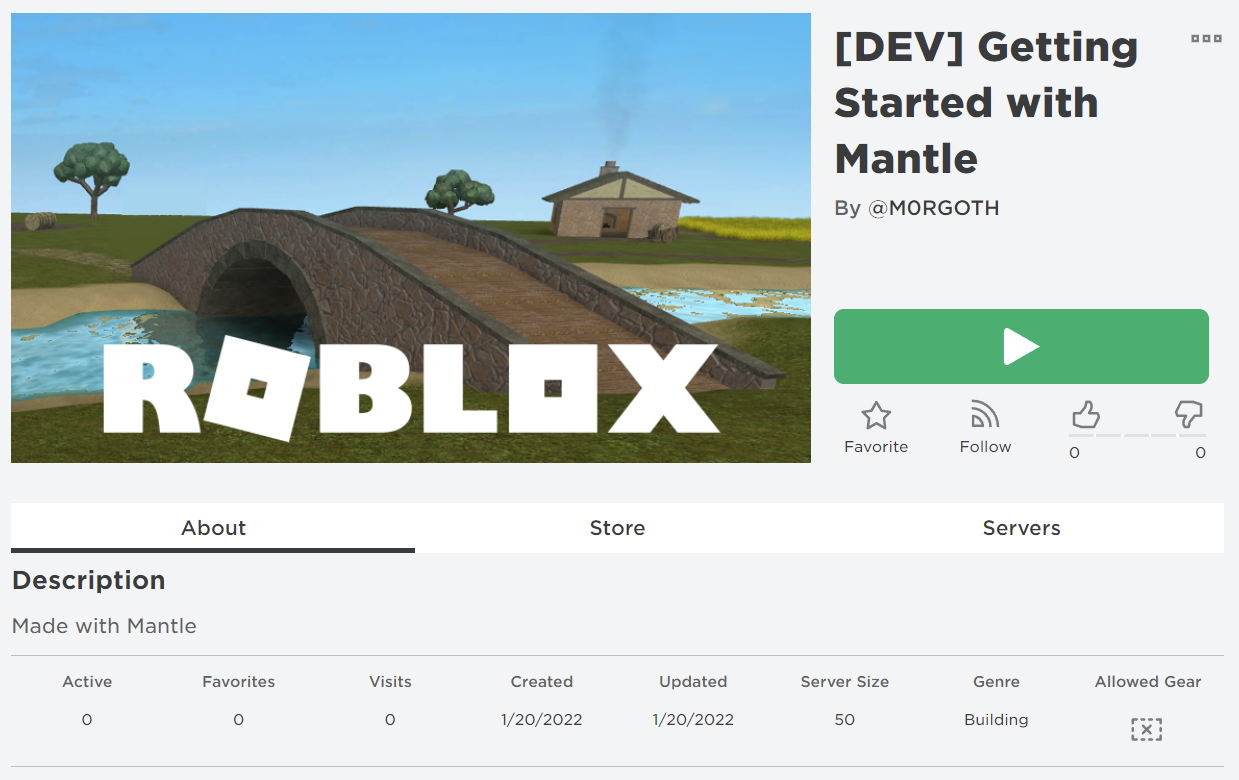
Finally, Mantle tells us the final results of the deployment as it relates to the "target" resource which in this case was an experience:
Target results:
  ╷
  │  Experience:
  │    https://www.roblox.com/games/8667346609
  │
  │  Places:
  │    start: https://www.roblox.com/games/8667346609
  │
  ╰──○
Open one of the links to view and play your new experience! It should look like the following image:
Let's modify the configuration and see how Mantle responds. Open the
projects/getting-started/mantle.yml file in your favourite text editor (I use
VSCode (opens in a new tab)) and change the start place configuration's name field to
something new:
environments:
  - name: dev
    targetNamePrefix: environmentName
  - name: prod
    targetAccess: public

target:
  experience:
    configuration:
      genre: building
    places:
      start:
        file: game.rbxlx
        configuration:
          name: I changed the Mantle config
          description: |-
            Made with Mantle
Now, re-run the deploy command (mantle deploy projects/getting-started -e dev) and see what
happens.
You should see a very similar output to the first deployment, except instead of recreating all of the resources, Mantle is able to just apply the single change you made to the place configuration:
Deploying resources:
  ╷
  │  ~ Updating: placeConfiguration_start
  │    ╷
  │    │  Dependencies:
  │    │      - place:
  │    │          assetId: 8667346609
  │    │  Inputs:
  │    │      placeConfiguration:
  │    │    -   name: "[DEV] Getting Started with Mantle"
  │    │    +   name: "[DEV] I changed the Mantle config"
  │    │        description: Made with Mantle
  │    │        maxPlayerCount: 50
  │    │        allowCopying: false
  │    │        socialSlotType: Automatic
  │    │        customSocialSlotsCount: ~
  │    │
  │    ╰─ Succeeded with outputs:
  │           placeConfiguration
  │
  │
  ╰─ Succeeded with 0 create(s), 1 update(s), 0 delete(s), 5 noop(s), 0 skip(s)
As you can see, Mantle highlights for us in the output exactly what changed and which resources needed to be updated as a result of it. Mantle is able to do this because of the state file! All it has to do is compare what the results of the previous deployment were by reading the state file with the "desired state" as defined by the configuration file. Now we finally understand why Mantle uses a state file!
Let's make a couple more changes to our configuration file. Add a maxPlayerCount to the start
place's configuration and add some social links to your experience:
environments:
  - name: dev
    targetNamePrefix: environmentName
  - name: prod
    targetAccess: public

target:
  experience:
    configuration:
      genre: building
    places:
      start:
        file: game.rbxlx
        configuration:
          name: I changed the Mantle config!
          maxPlayerCount: 25
          description: |-
            Made with Mantle
    socialLinks:
      - title: Follow on Twitter
        url: https://twitter.com/blakemdev
      - title: Official Roblox YouTube
        url: https://youtube.com/channel/UCjiPEaapiHbJMoAdi_L8fNA
Re-run the deploy command, then take a look at your experience on the Roblox website again. It should now be updated to look something like this:
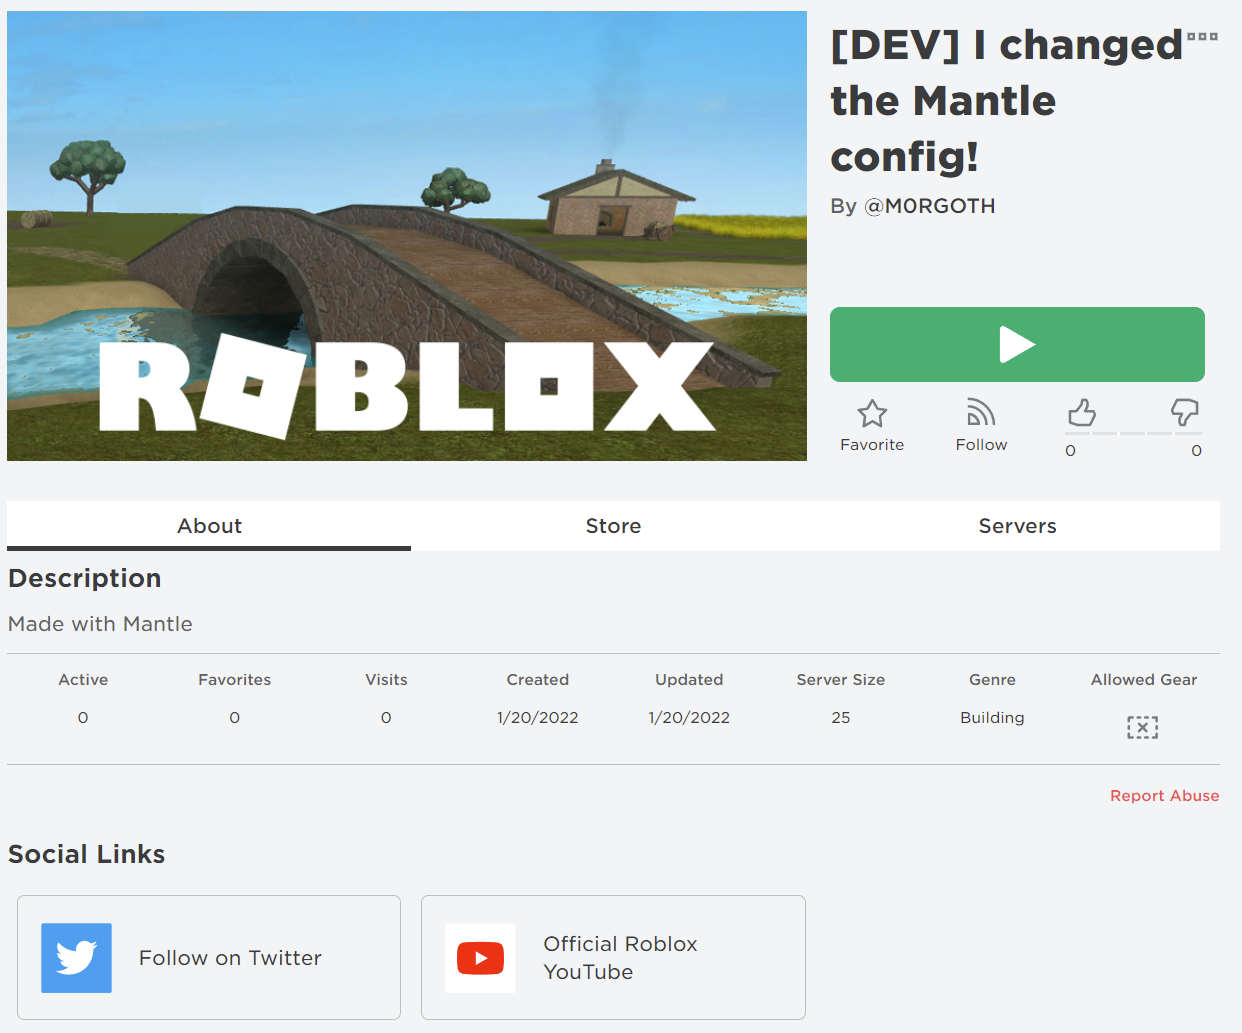
Note that the title, server size, and social links have all been changed!
At this point I would encourage you to continue playing around with the configuration file and redeploying to see how Mantle handles the changes and to get familiar with the format. Here are some things you can try on your own:
- Try deploying to the
prodenvironment - Remove one of the social links
- Add a game icon and thumbnails to the experience
- Try adding a second place to the experience
- Try deploying some of the other example projects
To see what all of the options are for the configuration file, check out the Configuration Reference.
Destroy the project when you are finished
If you are done with the example project and you would like to get rid of the places it created in
your Roblox account, you can run mantle destroy projects/getting-started --environment dev to
destroy the project. Note that the resources will still be in Roblox but they will be archived and
hidden wherever possible.